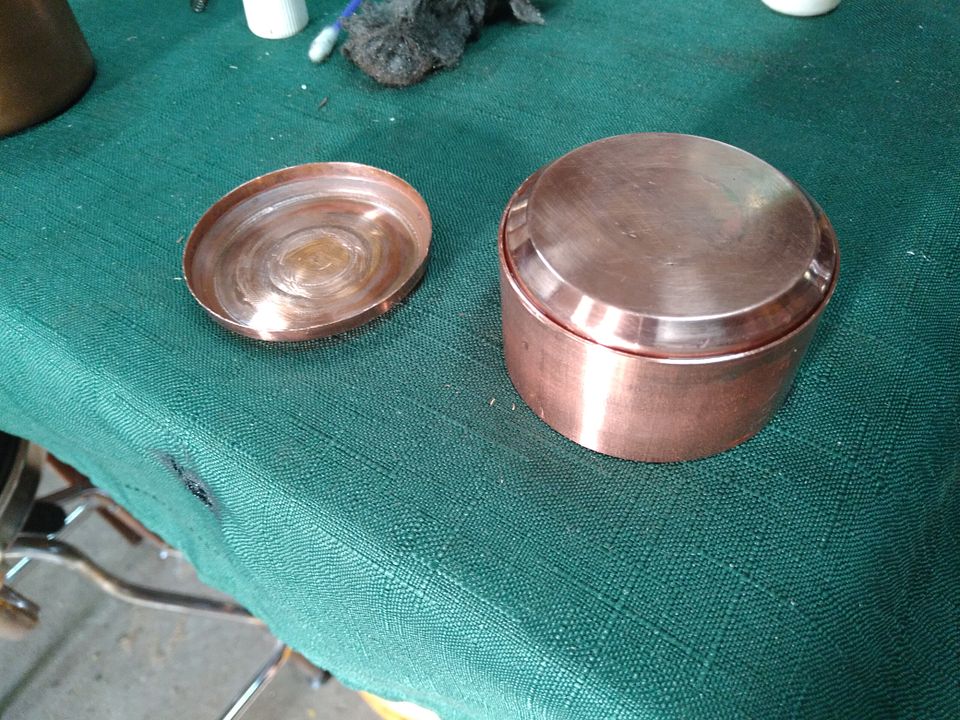
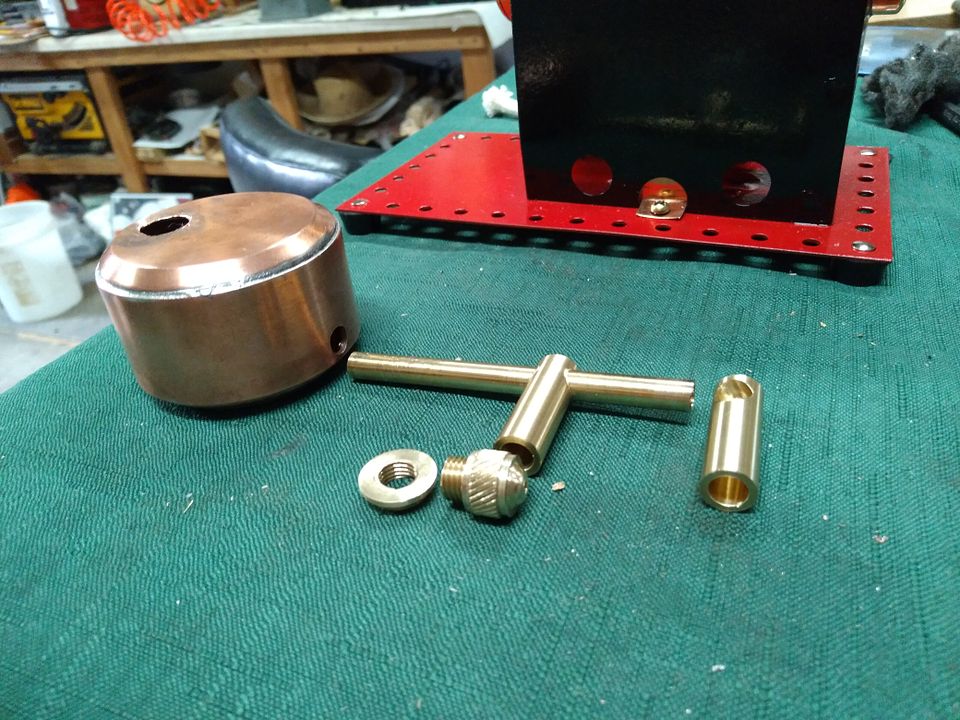
Hi folks, just finished restoring my 1948 Mamod Minor II with an abundance of help from "Alan UK" I needed to fabricate a cylinder assembly, safety valve & 2 wick burner, Alan helped me with the dimensions on all those items & I knocked them out to what you see here. it came together very well & started running at 8 psi & is now down to around 3 psi before stalling, for a single acting cylinder I am happy with that.
As recieved
https://youtu.be/dNLjFJbO1Yk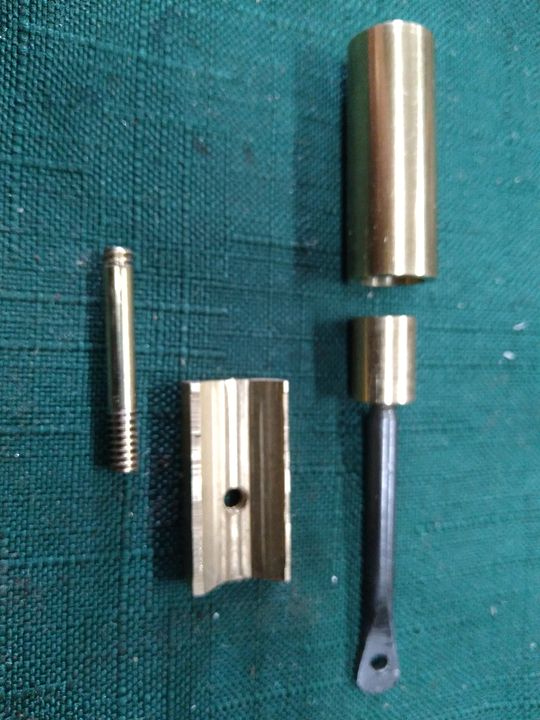
 https://youtu.be/aWQNLSrK6Pc
finished plant
https://youtu.be/GRiv_mB4Yjs
Well done Bruce.
It looks better than new.
I look forward to seeing the painted burner in Mamod Green.
Kudos to Alan for his assistance.
Thanks Charlie & Tommy, I've had this bare bones plant since last November and have entirely to many labor hours in it to sell it on ,so it'll just sit on a shelf for years until I forget how many hrs (18) I have into it's restoration... Lol. I'm just happy to have saved it.
Hello Bruce, I enjoyed this thread a bunch. I myself would have a hard time covering that attractive self made Meths burner with paint, but I also understand the desire to make like original.
In the video you spoke of lining the firehouse with a heat resistant material to help save the paint, I was wondering if you could elaborate on that a little? Things like how you secure in place or what the material is or possibly a link to purchase?
Thanks for making such high quality posts!
Great job, it is always good to see - that other members
also help to prevent these old engines.
Congrats, Arnold

Hello Bruce, I enjoyed this thread a bunch. I myself would have a hard time covering that attractive self made Meths burner with paint, but I also understand the desire to make like original.
In the video you spoke of lining the firehouse with a heat resistant material to help save the paint, I was wondering if you could elaborate on that a little? Things like how you secure in place or what the material is or possibly a link to purchase?
Thanks for making such high quality posts!
the flame resistant material is 1/8" flame resistant sheet that can be bought nearly anywhere , the stuff I used probably came from China as I bought it years ago, I cut the 2 vent holes on either side a little large as to not be seen & with the 1/2' band that holds the boiler secure on this particular model I simply tucked the heat shied between the band & firebox which worked nicely....that was it.
Sounds easy enough, thanks for the info!
It may have been a lot of hours Bruce, but you did it proud!
Rog
It may have been a lot of hours Bruce, but you did it proud!
Rog
Thanks Rog , I don't think I've ever tackled making a complete piston & cylinder assembly from scratch before , so that was a challenge for me and with Alans good technical specifications it was much easier.
It came out great, very well done Bruce!
How did you make the steamchest on the cylinder...
Did you drill and split a solid block of brass, or did you happen to have a fitting ball nose end mill?
It came out great, very well done Bruce!
How did you make the steamchest on the cylinder...
Did you drill and split a solid block of brass, or did you happen to have a fitting ball nose end mill?
I do have several ball nose end mill bits , none were a perfect diameter for the cylinder , so I used a slightly undersized bit & "crept" up on the cradle fit. I made it just a little loose to compensate for the solder fill , I got lucky because it worked well . I had made 2 cylinder cradles, but only needed the 1st one. the pivot post is threaded into the cradle & the whole thing (cylinder & all) was soldered together at one time. the cylinder is one piece Brass. the piston connecting rod is threaded into the piston , so I had about 1/8" adjustment to fine tune the fit for optimum running. the piston was such a tight fit that although it would go into the bore ....I couldn't get it in very far , I hadn't drill the steam port into the rear of the cylinder & it was compressing air when I tried to push in & it would just pop right back out, until I drilled the steam port...lol.

